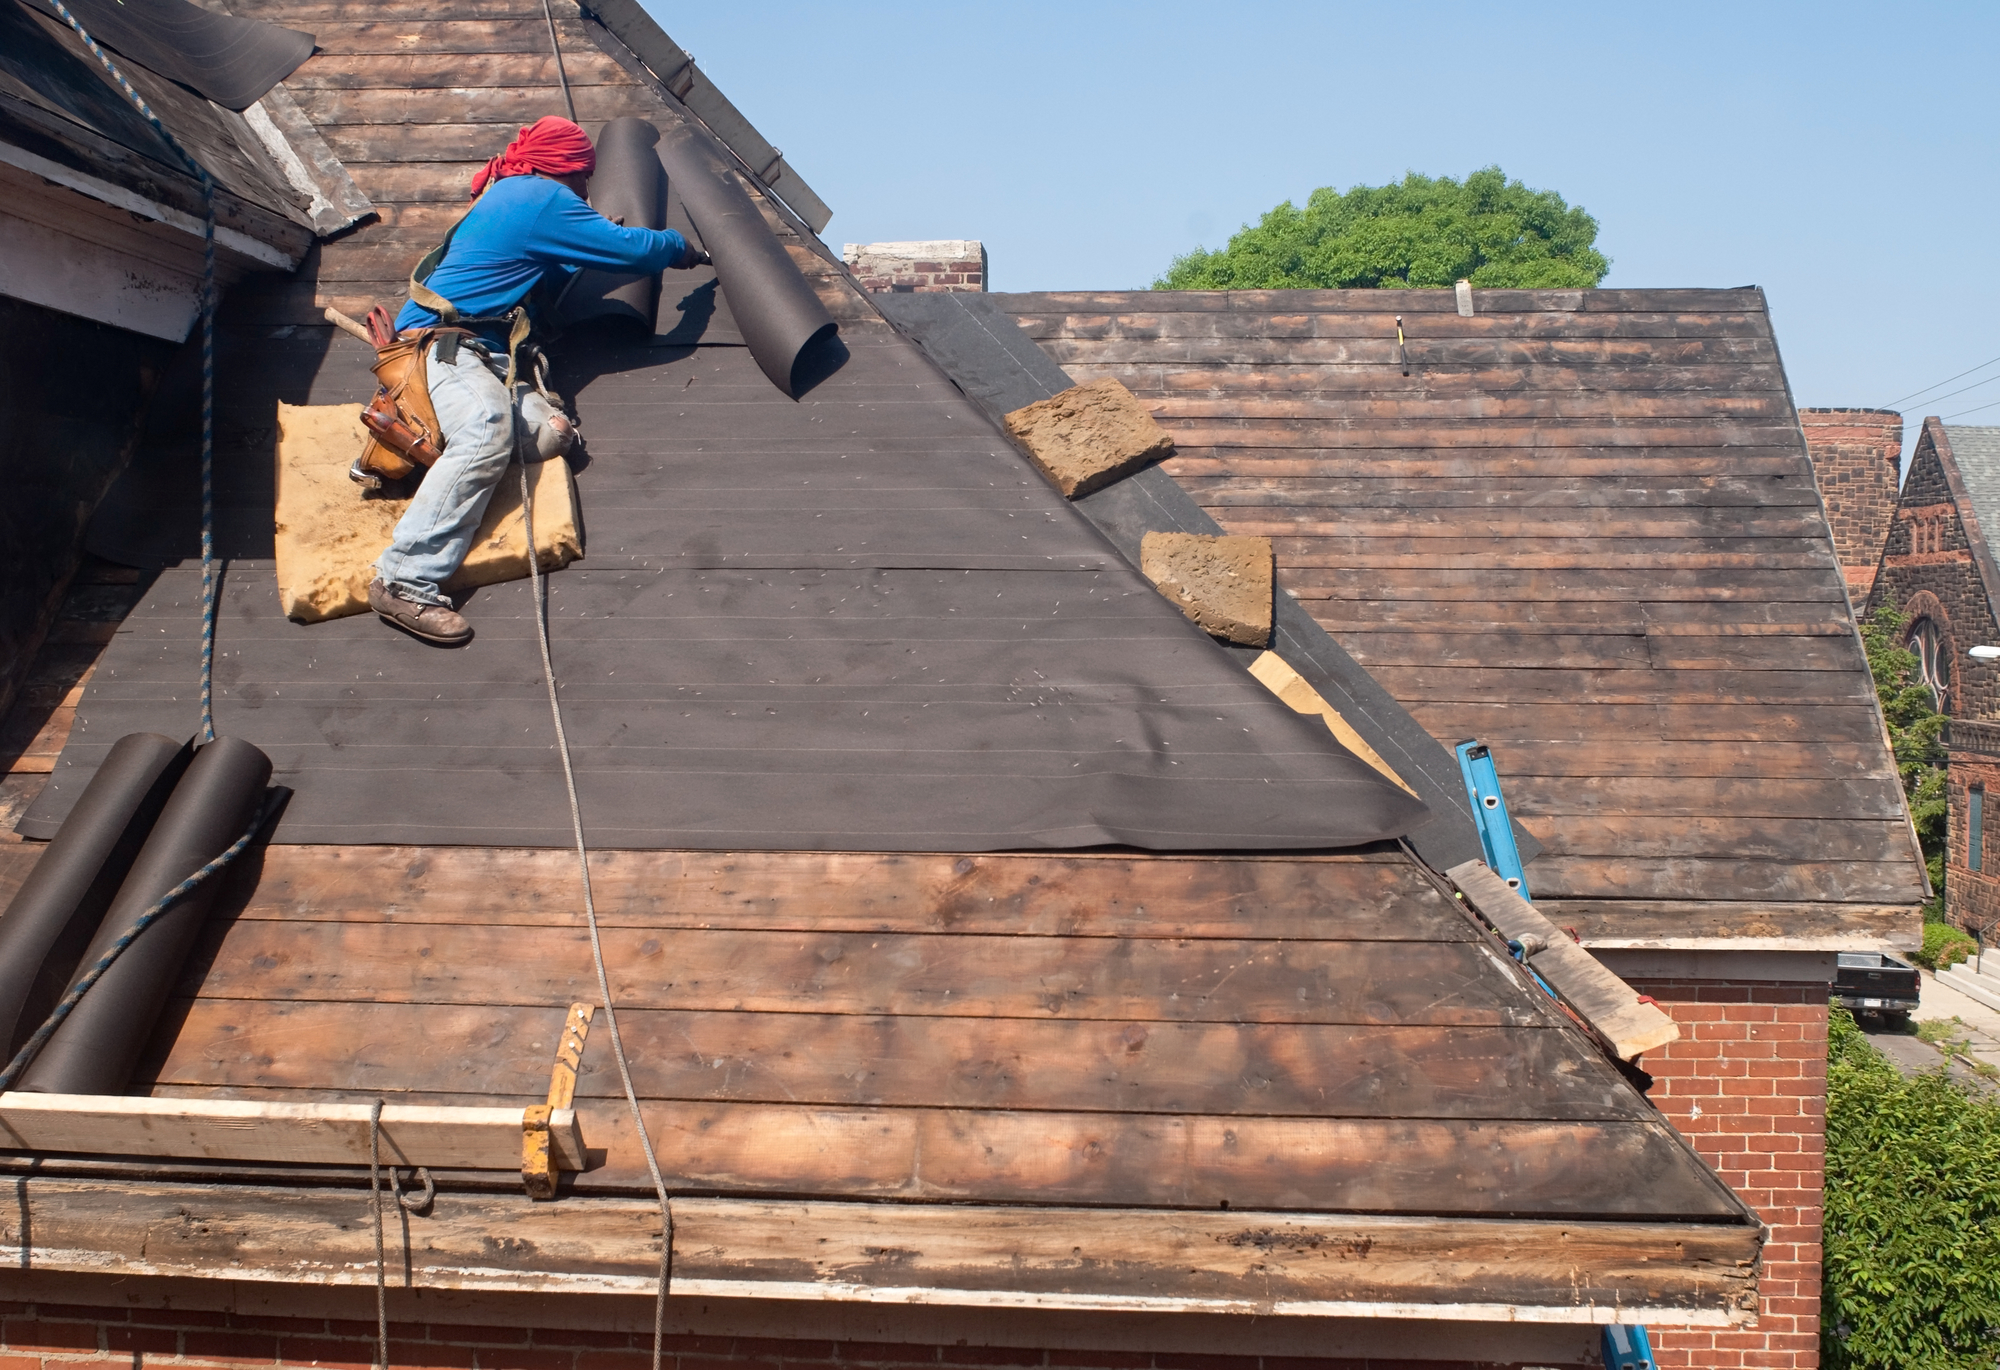
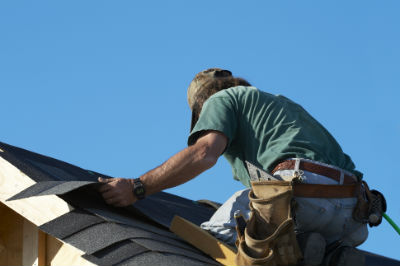
On this page were going to explain how to remove all roofing and install the under layers. I have tried to keep the instructions as simple as possible which means if you do want to fit your own roof without the aid of a roofing contractor then you should be up to follow the guide easily enough.
Removing Old Roofing
Properly removing the old roofing is essential in order to be able to achieve a professional finish on your new roof. Ensuring that you properly remove under layers and flashing is essential or the new layers you place will not correctly seal. It is fairly easy to pull up old shingles but you need to make sure that you remove every part of it including the nails. If the nails are proving too difficult to get out the make sure they are hammered back into the panels so they do not protrude.
As we mentioned on the homepage make sure you remove any objects possible from underneath the roof that could potentially get damaged by falling objects. When you are removing old roofing this is the time most likely that parts will drop off the roof. Be as careful as you can when removing old roofing especially parts that have been stuck down with adhesive. It is more for safety’s sake here as you do need to pull very hard sometimes in order to pull up the old roofing and you need to take extra care not to lose your balance while on the roof.
Optional – Install Drip Edge
I was recommend installing drip edging on a roof but it is not always actually required by regulations. This is something you should check with your local authority to see if it is required. However, installing a drip edge makes for a much more professional look as it helps prevent the shingles from curling around the edges which can lead to water running down a facia.
If you do decide to use a drip edge then do this before you install any of the under layer. You are then fastened the drip edge onto the fascia on the eaves. When installing drip edging you will find that generally it will not fit perfectly straight so don’t worry too much. We need to do is hold the drip edging is tie up against the fascia as you can fasten it through to the decking with the correct type of roofing nails. Putting an alien every couple of feet should be more than enough to hold in place.
Installing The Under Layer
 As mentioned in the introduction installing an under layer is the best way to prevent water from seeping up under the shingles and in turn back into the house. The vast majority of under layers are self-adhesive so they are easy to fix and most of them have a plastic back so they don’t have to worry about the material sticking to itself.
Installing the under layer really couldn’t be simpler. You simply line up the edge of the roll with the outside of the drip edge. When it is all lined up simply start to peel back the backing part of the role and nail the first corners into the decking. Nailing it in is essential to ensure that it doesn’t slip. The easiest way to roll out the underlay is to peel back the backing as you move backwards the self-adhesive role will stick to the decking.
You really need to try make sure that it sits completely flat before you attach it to the decking you need to do your best to ensure that there are no lumps in the layer. The reason for this is that they do have the potential to seep through to the shingles and look unsightly. You need to make sure that the decking is dry before attempting to start laying the waterproof under layer.
Layer 2 – Felt Paper
The next layer is felt paper which is sometimes known as tar paper. Because the original self-adhesive underlay was optional the felt paper can actually go directly onto the decking if that is your choice.
For the vast majority of jobs 15lb felt will work just fine. However if you are unsure than simply ask the builders merchant for a bit of advice. When installing your felt paper you work row by row. Simply roll out small section of the paper and secure it using roofing nails or a staple gun. Roll the felt down securing it as you go but make sure each row overlaps the other so there is no potential gap for water seeping in between. Make sure you staple the overlaps together. Most the time the felt will she come with overlap lined so you know how much overlap by without having huge wastage.
It’s pretty easy to get the hang of your soon be able to roll out along section and secure it together. The main thing to ensure is that you are fastening enough times. It should be secure enough that wind should not be up to lifting section of the paper as it is laid. For safety’s sake do not attempt to walk on the felt until it is properly secured as it is a slip hazard.


